
The custom stencil size you select is the size of the stencil’s artwork. It has one feature for stickers that are great as image stencils. Start creating images works with all marketplaces and platforms! You can do this directly in the silhouette studio software, or you can import an existing design that you have created elsewhere. Roll and mix the paint in the palette with the roller.
Choose from 24 different font styles. This is to prevent the paint from seeping through to the back. Choose something with solid, dark lines, so that you can see it through the contact paper when you go to trace it. The custom stencil size you select is the size of the stencil’s artwork. Place cardboard inside the shirt.
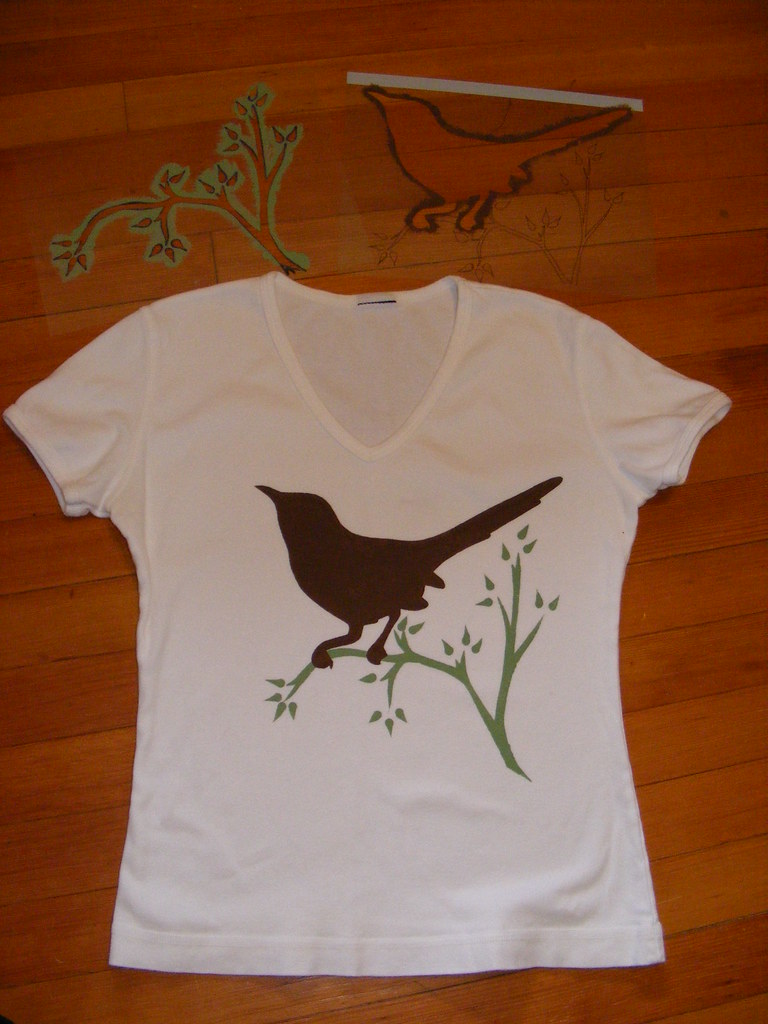
Draw your design draw your design on the freezer paper, on the side without plastic wrap. Best for creating beautiful imagery around a negative shape. Place cardboard inside the shirt. Even though you will be using clear contact paper, the paper backing will make the design harder to see. There is also a stencil feature that has sayings that go along with the images.
VandL Custom Stencil TShirt

Shop Stencil TShirts online Spreadshirt

Bleach Stencil Shirt Made with a Cricut! Jennifer Maker T shirt

3 Ways to Stencil a T Shirt wikiHow

How to Make a Stenciled TShirt With Your Cricut Maker · Craftwhack

How to make a personalised tshirt with a stencil B+C Guides

Creating a stencil and painting a tshirt (fast forward) YouTube

DIY Stencil Bleached Shirts Make Your Own Unique Designs

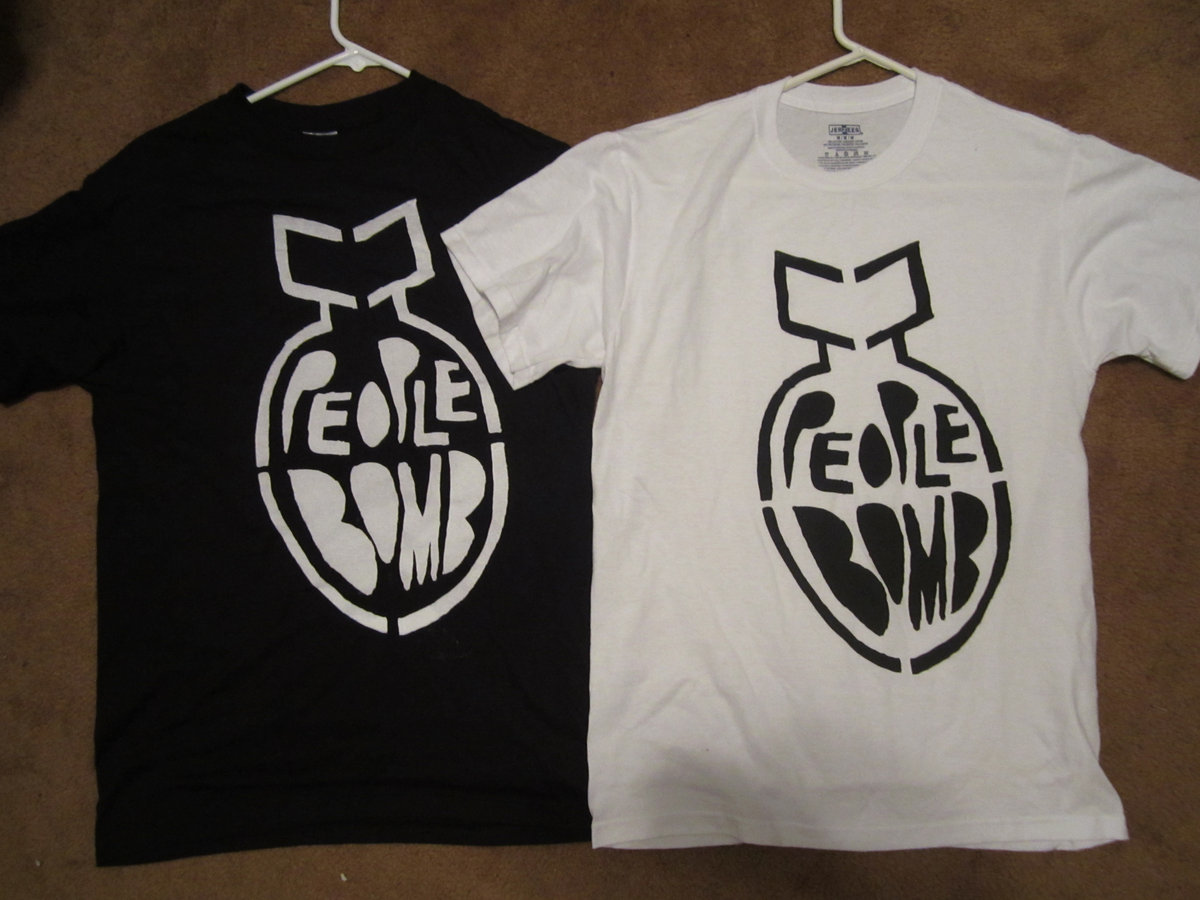
Original Stencil Design TShirt People Bomb
T SHIRT STENCILS
Draw your design draw your design on the freezer paper, on the side without plastic wrap. Let the paint dry and add a second coat. And even better, you can save your stencils to reuse again and again! Easy to follow step by step tutorial. Choose something with solid, dark lines, so that you can see it through the contact paper when you go to trace it. If you import a design, you can use the trace function to create cut lines around the edges of the artwork. Web 143k views 8 years ago. Web stencil, stencil brush or sponge brush (i used a regular kitchen sponge), fabric paint (thicker), masking tape, plate, iron. Use this easy method to cut any type of stencil. You can gently lift off the stencil before the paint dries, but then let it sit and dry completely. First off, you need to create a stencil. This is to prevent the paint from seeping through to the back. Start creating images works with all marketplaces and platforms! A little tape won't hurt. Cut carefully cut your drawn design out of the freezer paper.
This Is To Prevent The Paint From Seeping Through To The Back.
It has one feature for stickers that are great as image stencils. I used the just because cards cartridge. Easy to follow step by step tutorial. Web 1 print or sketch a simple design.
Cut Carefully Cut Your Drawn Design Out Of The Freezer Paper.
Using the cricut machine cut the image you want to use for the stencil. Place cardboard inside the shirt. Put something (like some newspaper) inside the shirt, behind the stencil, so the paint doesn't bleed through. First off, you need to create a stencil.
Choose From Canva’s Variety Of Customizable Designs And Make An Authentic Fashion Statement.
In this post, i’ll teach you how to bleach a shirt so that you create patterns and designs on them. Best for creating beautiful imagery around a negative shape. Web stencil, stencil brush or sponge brush (i used a regular kitchen sponge), fabric paint (thicker), masking tape, plate, iron. You can also print your design directly on the freezer paper.
Draw Your Design Draw Your Design On The Freezer Paper, On The Side Without Plastic Wrap.
The custom stencil size you select is the size of the stencil’s artwork. Digital printing, on the other hand, uses. Start creating images works with all marketplaces and platforms! Use this easy method to cut any type of stencil.